Written by Megan Murray
Megan Murray is a senior digital writer for stylist.co.uk, who enjoys writing about homeware (particularly candles), travel, food trends, restaurants and all the wonderful things London has to offer.
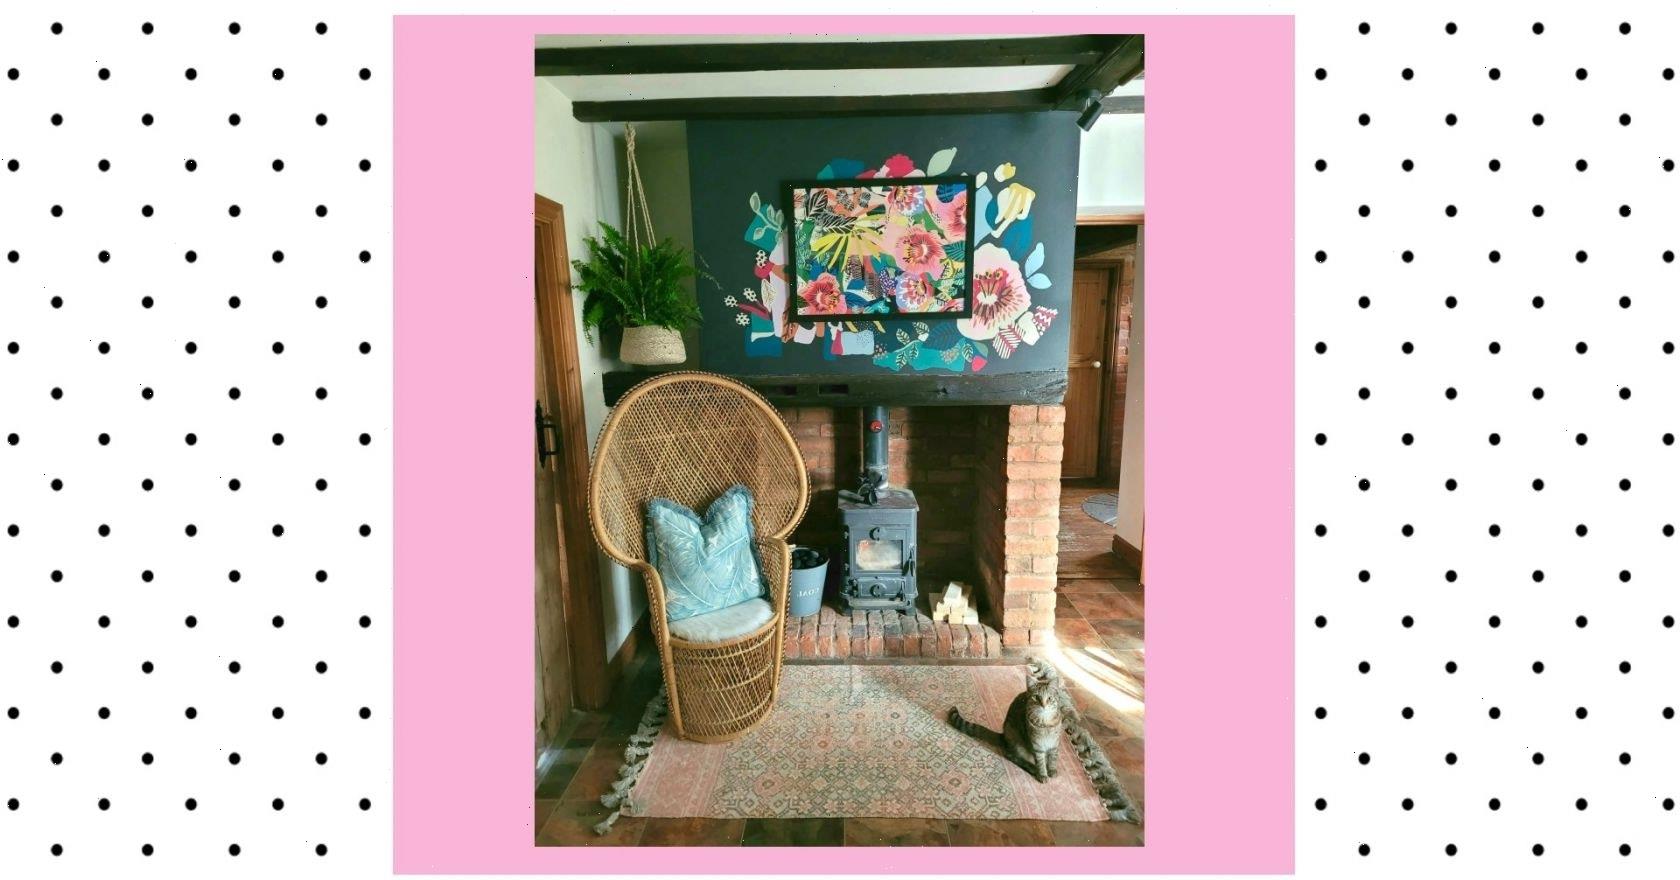
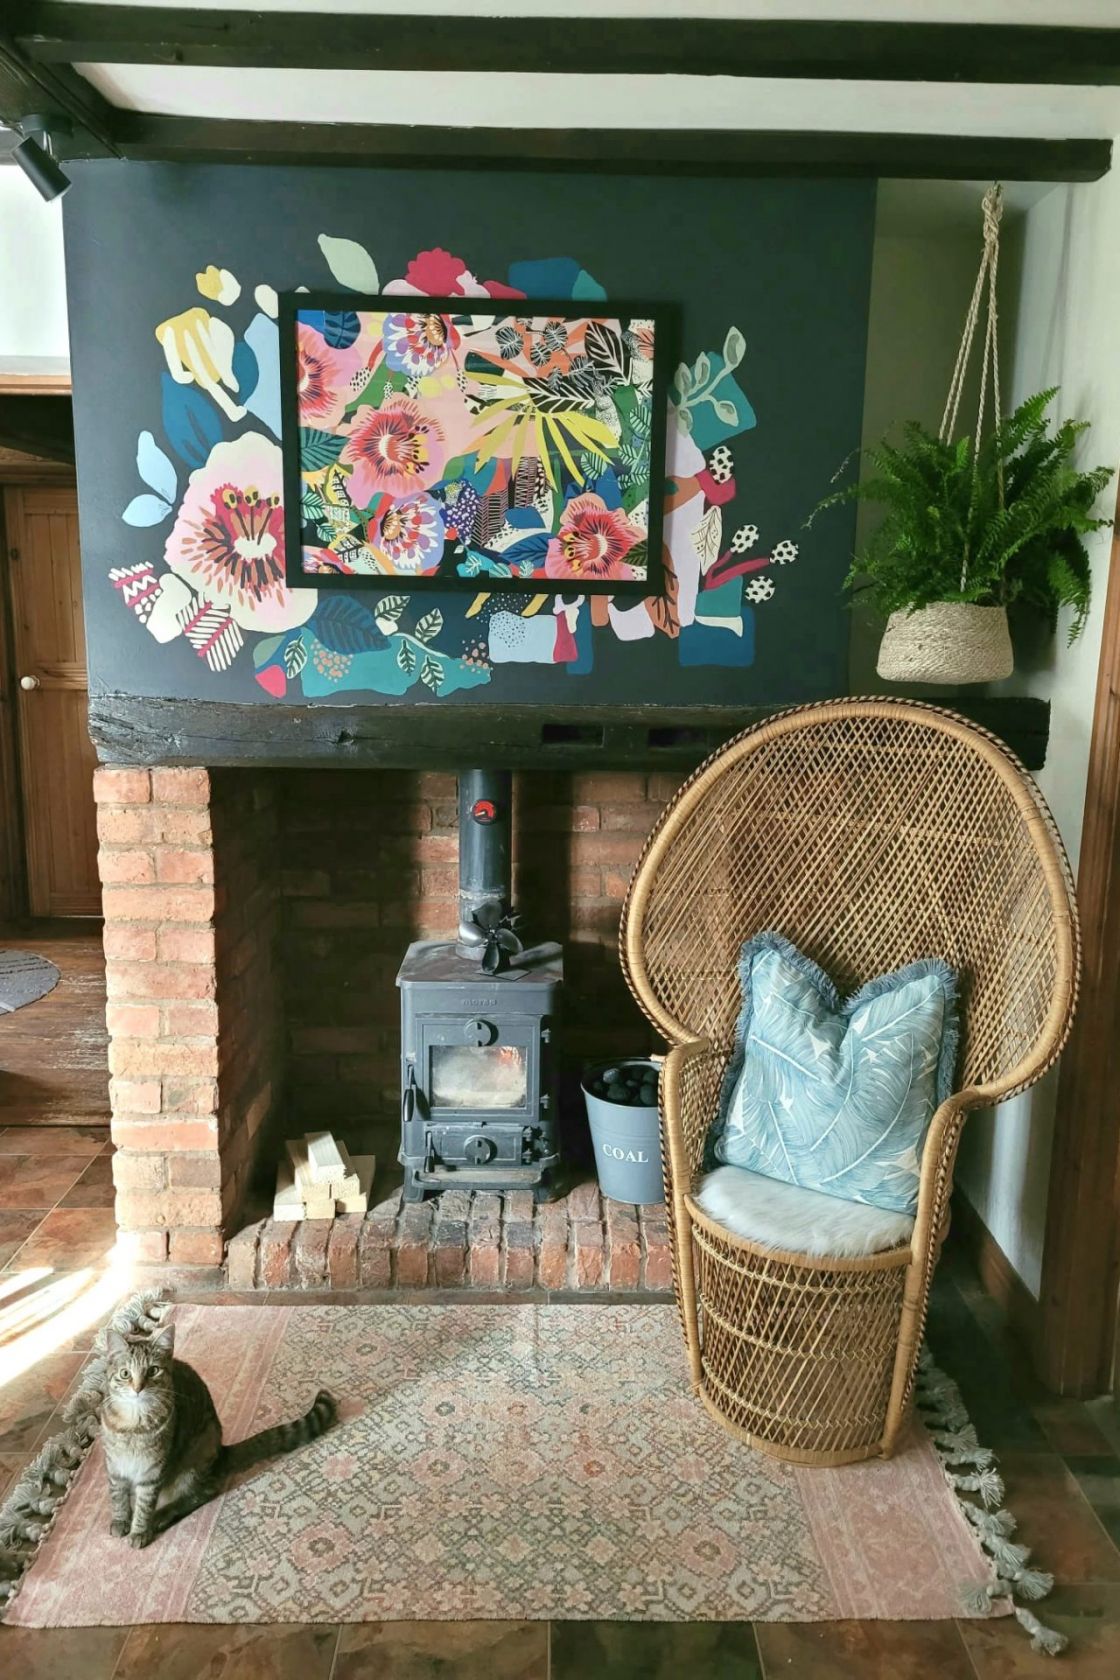
Why not liven up your living space with an out-of-the-frame wall mural? This 3D technique gives more depth than other experimental paint trends and punches of personality.
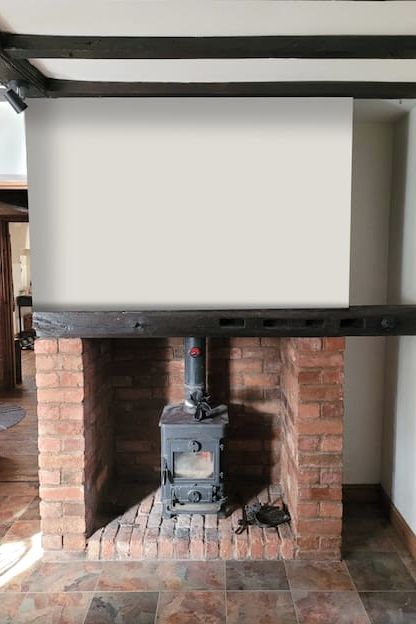
As anyone who is lucky enough to live in a property with a fireplace knows, the space above it is prime real estate. An area that instinctively draws the eye, it’s a natural contender for a feature wall – but the big question is, how to fill it?
Gallery walls aren’t going anywhere, but while effective, they can also be expensive and time-consuming to curate. Wallpapering is seeing a resurgence, but for those who rent, this option could be too high-commitment.
For interior designer Jo Tooley, who rents a farmhouse in Nottinghamshire, the experimental paint trends and murals that have gained popularity over the last two years have been the perfect inspiration for this space.
“I had a lot of tester paint pots to use up, so I started thinking about a cost-effective and low-wastage way to decorate this large, empty space that was looking rather lonely,” she explains to Stylist.
“Paint is such an easy way to update your space and is renter-friendly, too. I love wall murals and thought an interesting take could be using a pre-existing print as a starting point and building outwards around a frame to create a bigger effect.”
Here, Tooley explains how she created her eye-catching wall mural in a few simple steps.
Choose your inspiration
“I love colour and pattern, so I knew the centre of my mural would be a busy print. I saw this wallpaper from Kitty McCall and fell in love with it. The great thing about this technique is you can just use a sample, a sheet of wrapping paper or even a piece of fabric; it’s a lovely, inexpensive way to bring a pattern into your home.
“My advice is to pick a pattern that isn’t too difficult to recreate and has an element of abstract about it so that there’s room for your own interpretation. Think about the colours you’ll pick out and how this will look in your room, too.”
Paint the background colour
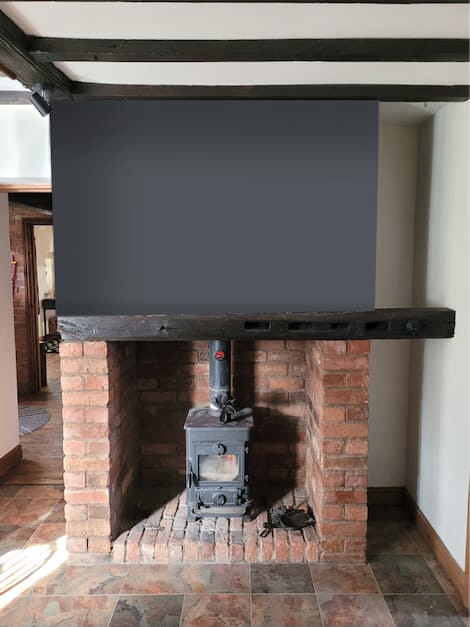
“If you want to leave the wall white this doesn’t apply, but personally, I wanted my design to really pop and love the emphasis a dark wall brings. With bright colours, you might think that a light canvas is best, but actually, a dark, moody shade can accentuate rich colours and give them more depth.
“I chose Railings by Farrow & Ball because of the way it looks against the fuchsia tones in the wallpaper. Plus, my place has spotlights and it helps counteract the harshness of those lights.
“Other paint colours I recommend for a similar effect are Pelt from Farrow & Ball or Cinque Green from Pickleson Paint.”

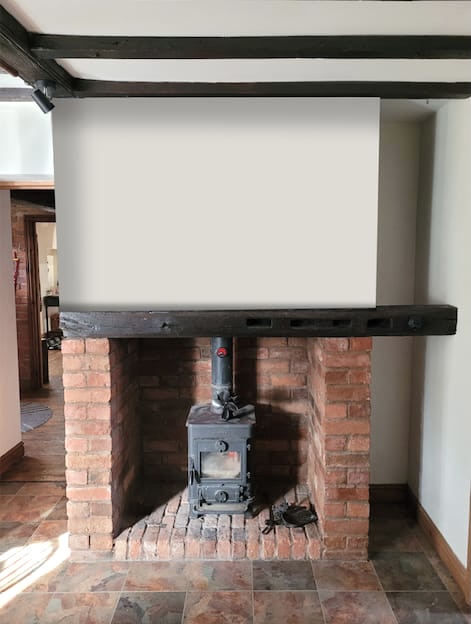
Consider position and size
“When hanging artwork at home, I always map out the space by taping up sheets of paper to mimic the size and position. Then, you can see if it’s sitting at the correct height and fills the wall as you imagined.
“In this case, the shape of the frame is especially important as it will dictate the mural around it.
“Use this technique to plot out where the frame will go, then trace the outline with a pencil so you know what you’re working with.”
Pick key colours and shapes
“Set yourself some parameters to work with. This will depend on the pattern you’ve chosen. If there are only a couple of colours present you won’t need to narrow this down.
“My wallpaper uses lots and lots of colours, as well as mish-mash of busy pattern. So, I chose three colour groups: pinks, blues and earthy tones. Then I gave some variation for each, choosing three different shades. A good general rule is no more than seven colours in the mural.
“For shape, it again depends on the pattern. If the pattern you’re using is stripes, for example, you won’t need to simplify this. But I chose three key parts of the pattern I liked and then decided to reimagine them around the frame. As they are very detailed, I used my instincts to leave out parts that could look too much or feel a bit messy.’
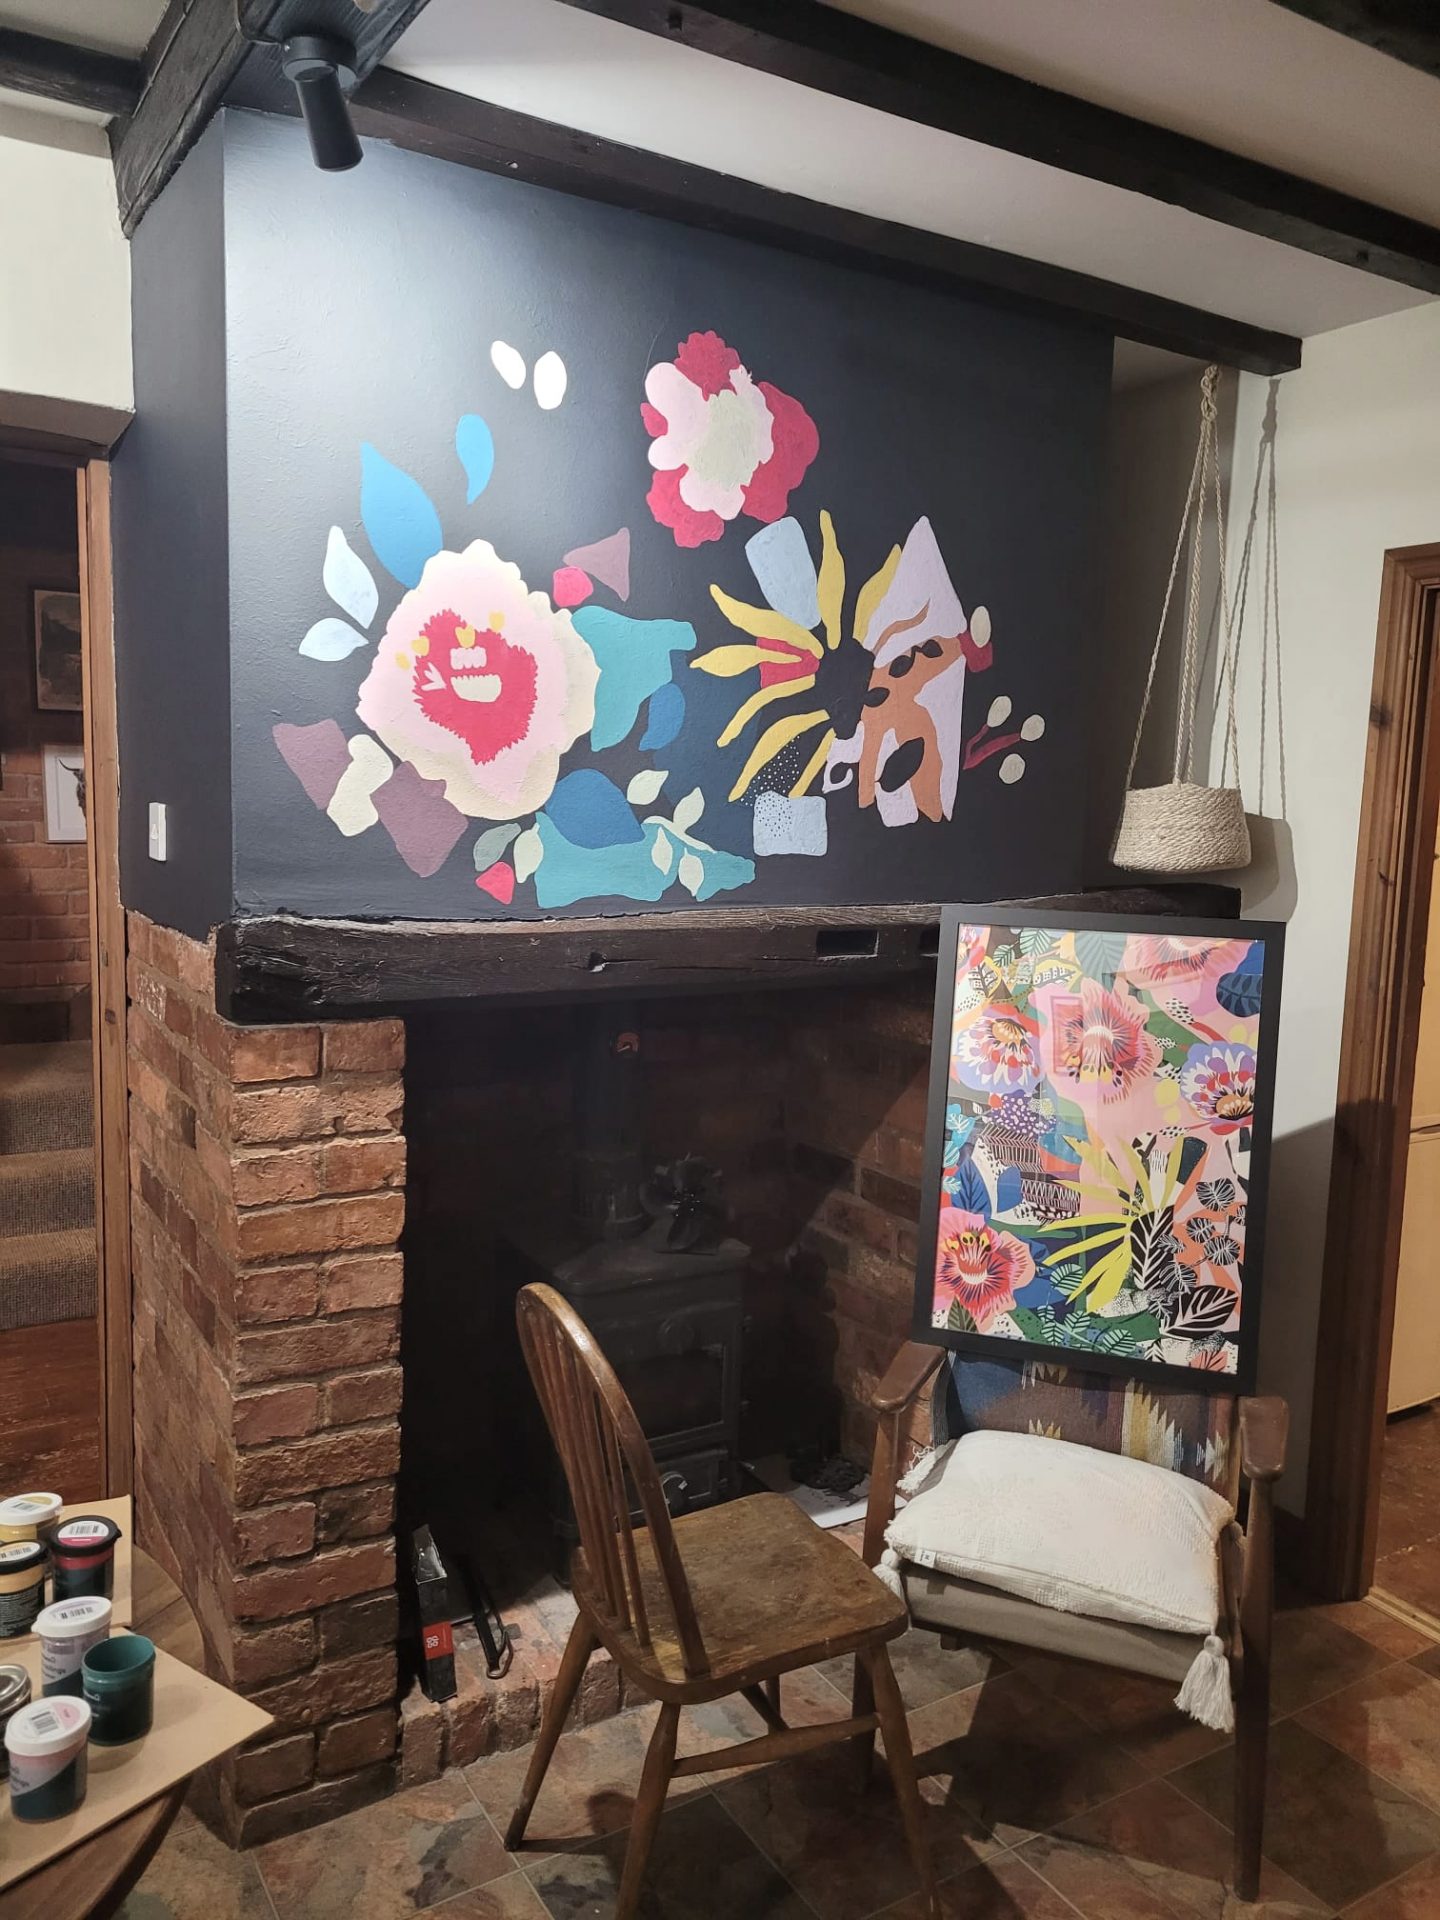
Build up the layers
“I didn’t want my mural to look regimented so I picked three parts of the original picture I liked most and staggered these around the frame at different heights. I used a pencil to trace out the initial shape and painted on the base colours first, referencing the pattern for guidance.
“Once all of the larger shapes were in place, I left it to dry before building on it again with more details in different colours. My advice is: be brave. There has to be an element of trial and error, and if you have chosen a darker colour for your base, you can always use this to touch up parts you don’t love.
“Also, take regular breaks and stand back – like, really stand back. Being close up to a project can distort your view; it generally looks much better after a stretch of the legs and a cup of tea!’

Add detail
“I recommend hanging the real image up every now and again throughout the process. This will help you know whether to keep sprawling outwards, as well as re-inspiring your creativity. In the final stages, it’s good to do this even more as you get to the nitty-gritty.
“Add the final layers of paint and for any tricky detailing, I like to be nifty. Black sharpies are great for doing outlines, while the bottom of your paintbrush is another tool that can work for little dots.”
Stand back and admire
“Once all the paint has dried and you have re-hung your frame, stand back and admire your work. The great thing about a mural like this is you can keep building. I plan to eventually grow mine until it covers the whole wall.”
Images: Jo Tooley
Source: Read Full Article