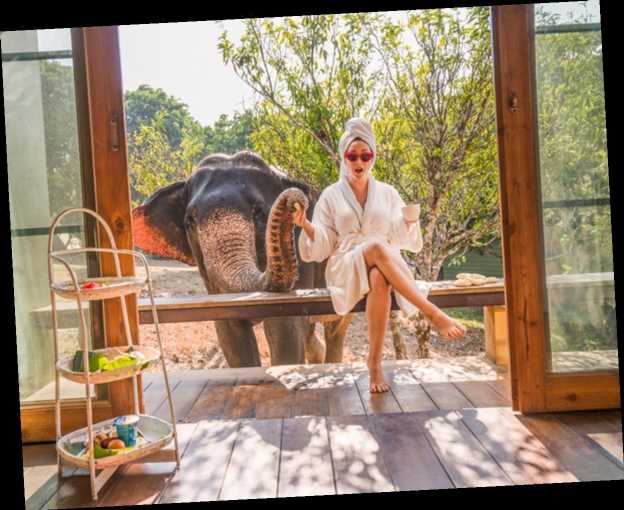
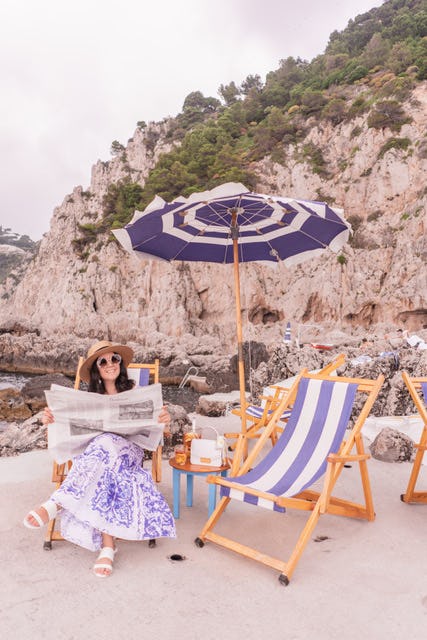
I find traveling solo as a woman incredibly empowering. I can explore what I want, when I want, how I want. As a travel blogger and writer, I have played with elephants at an ecolodge in Thailand, lounged on a surreal stretch of beach in Capri, and hopped from historic temple to historic temple in Vietnam — all by myself. Fortunately, my years as a solo traveler and blogger have taught me how to capture amazing travel photos without an "Instagram boyfriend."
I am lucky enough to live and work abroad in the summer. None of my friends or family, however, have this same opportunity. So, I’ve embraced exploring new destinations on my own. I refuse to let the fear of being alone keep me from seeing the world. But one thing that is harder to do as a solo traveler is actually one of the most important parts of exploring: capturing all the amazing memories in photos.
After years of experience, I’ve learned little hacks that go a long way in documenting a memorable trip. Now, I’m sharing the scoop with you — spilling all of my best tips and tricks so that you can get the perfect ‘Gram all by yourself.
Prepare Before You Depart
Capturing an epic shot on your own actually starts before you ever step in front of the camera. As effortless as it may seem on social media, great shots don’t just happen. Most influencers and photographers put a lot of thought and creativity into every detail of a photo, from what and how they shoot to what they wear. Even for the traveler who simply wants an incredible memory, a little bit of research, planning, and practicing will go a long way.
Once I know where I am traveling, I like to begin photo-planning by finding inspiration on Instagram and Pinterest. Capturing photos you love is all about knowing what you want. I collect images that inspire me in a Google Doc that I can access when traveling. I also like to create a custom Google map, pinned with all the locations I want to see and photograph. (You can see my custom Google map of Paris here.)
Having decided what I want to capture, I think about the details. For example, is the location crowded? Should I go early in the morning or late in the afternoon? When is the best light?
If a location is popular, like the Trevi Fountain, I plan to go early in the morning for pics. Early morning — that hour or so after sunrise — has great light and much fewer people. So generally, I plan on taking all of my wide-angle, monumental shots of famous buildings in the morning and I like to shoot outfit shots — which I like to do in front of a cute door or a wall of flowers — and less-crowded locations during what’s known as “golden hour.” Because golden hour falls the hour before sunset, I avoid famous sights, which are more likely to be crowded during that time.
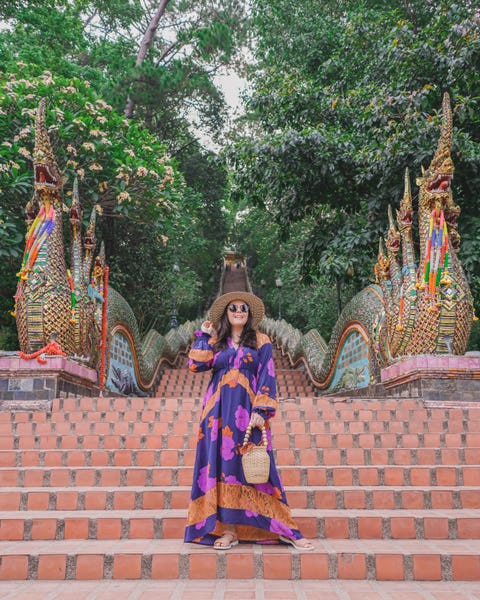
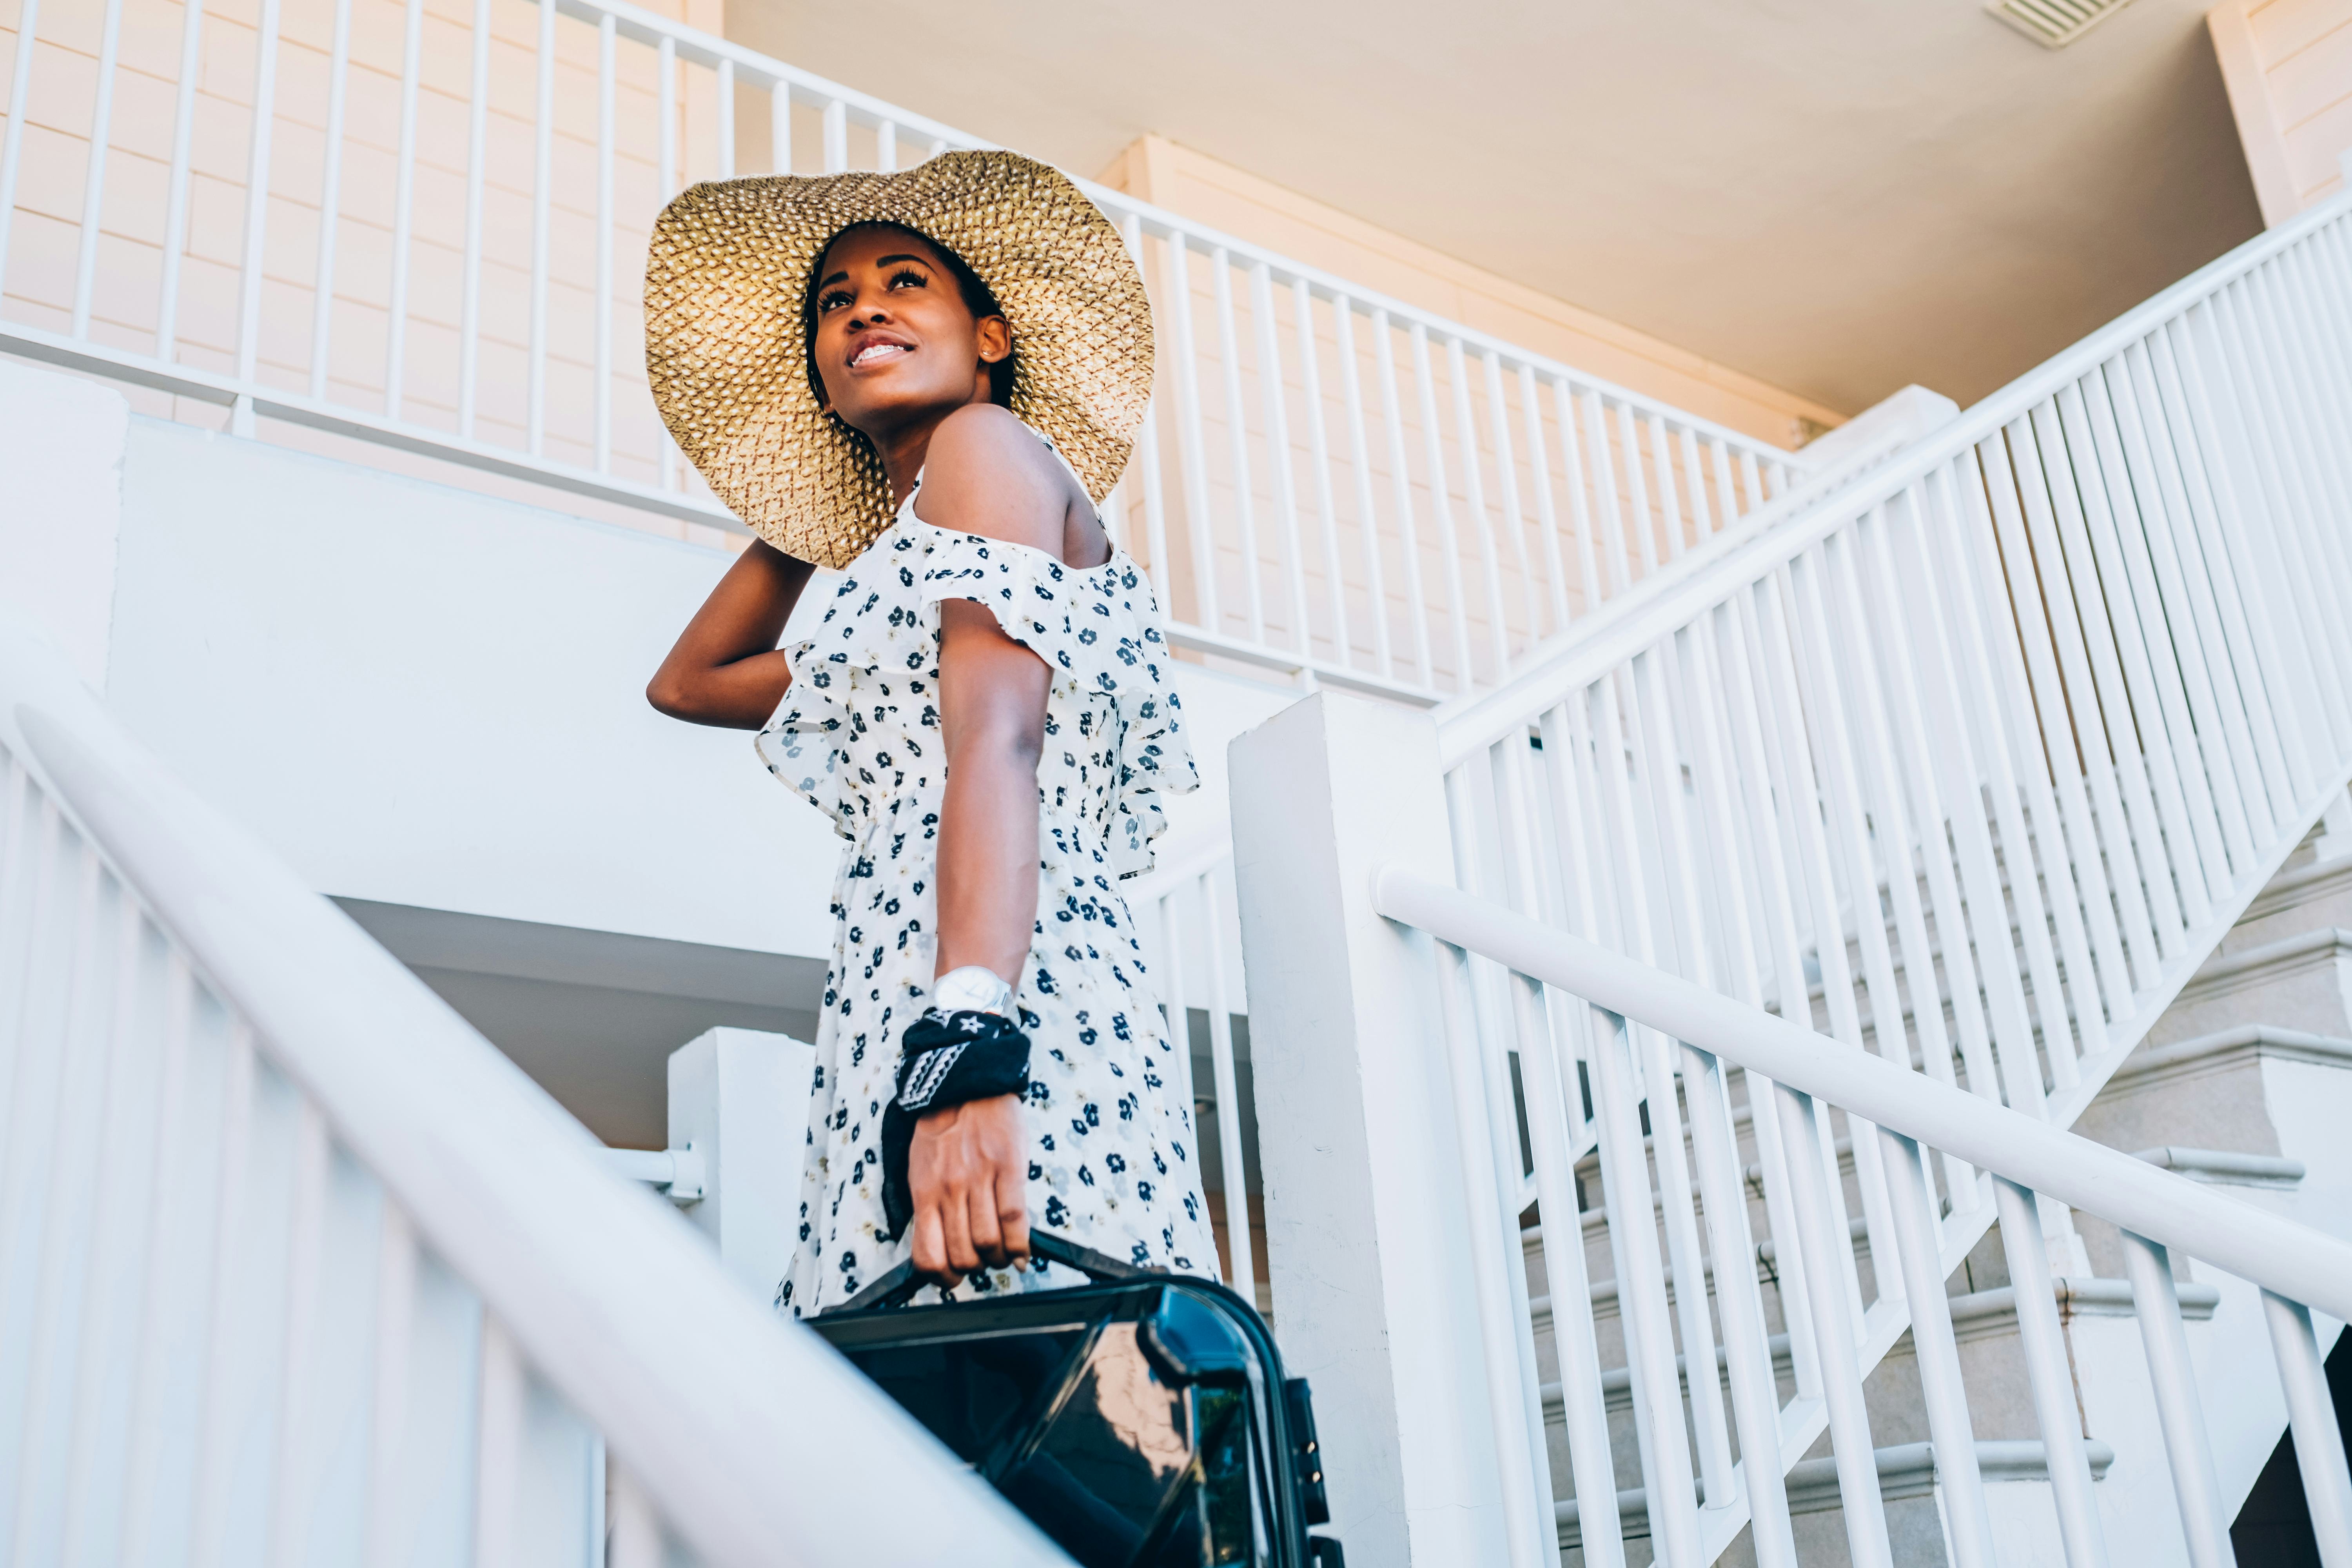
Lastly, I ask myself, “What should I wear?” There is a reason you always see Instagrammers in flowy dresses or big hats. These items add movement and shape to photos. I also decide if I want to emulate the vibe of my destination, like a tile print dress in the Amalfi Coast, or, do I want to stand out in a bright color against a neutral or monochromatic setting? Your clothing can also help you tell a story—for a playful breakfast with an elephant I wore a white robe and towel on my head, and for temple hopping in Thailand, I opted for a flowy silk caftan with a pattern and colors that echoed the temples’ beauty.
Use The Right Equipment
Getting a great shot of yourself, by yourself is all about the proper equipment. Unless you want to use a selfie-stick, you’ll need a tripod. Invest in a light-weight tripod you can easily carry and that can adjust to multiple heights.
You’ll also need a digital camera with wireless capabilities or a cellphone that’ll work with a remote shutter. I love my Sony Ar7ii because it has an app that works as a wireless remote control and even lets me preview the image live on my phone.
When I arrive at my destination, usually early in the morning to avoid crowds, I set up my tripod and camera. I then sync my phone and camera. With the live preview on my phone, I can see exactly what the photo will look like and adjust my position or pose. Seeing the image and adjusting before you snap is key. Sometimes something looks great to the eye, like a long ornate temple staircase, but when you step in front of the camera, you block the shot, or you can’t capture the depth. For the temple stairs in Thailand, I had to reframe and adjust the height of my tripod lower in order to capture the detail and depth of the background.
One of the hardest parts about shooting photos of yourself is hiding the remote control. I have two tricks: I either put the shutter on a five or 10-second daily and pop my phone in my pocket or purse (like I did in the temple stairs pic), or I hide my phone in my hand by strategically grabbing the brim of my large hat.
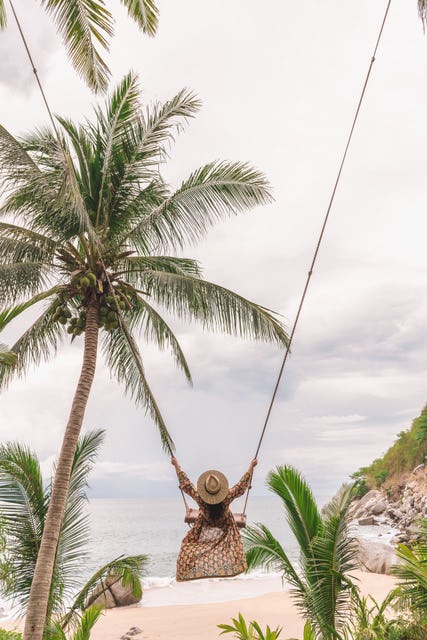
Another option is to simply put your camera on video and record yourself, holding different poses for a few seconds. This works especially well if your concept involves a lot of movement or the timing will be difficult. This is exactly what I did to capture that epic rope swing shot in Phuket. I set up my camera on my tripod and hit play. I then hopped on the swing and enjoyed the moment. Once I got home, I isolated the frame of the video at the exact moment I wanted (soaring in the air) and turned it into a single image. The beauty of this technique is that you don’t have to worry about hiding a remote or getting the timing right. You simply start recording, walk into the frame (or in this case, swing), and move around, trying various poses along the way.
Don’t Let Fear Hold You Back
Sure, it might feel a little silly taking lots of pictures of yourself, but I promise it feels worse to regret not having them. I hate looking back at the pictures from my first study abroad experience in Rome. That semester in Rome changed my life, but I had no pictures of me in Rome to commemorate the experience. I had about a gazillion standard, boring pictures of the Colosseum, the Roman Forum, and the Vatican, but none of me. Based on my photos, anyone could have been there, and anyone could have taken them.
After that semester in Rome, I promised myself that I would always make the effort to capture images of me in the places I traveled. But this was not something I learned to do overnight. In the beginning, before cameras got smart, I had to rely on other travelers, which left me with less than stellar results. As camera technology grew and I learned how to take control of my pics by doing them myself, I became more and more confident in front of the camera. I started to really enjoy the challenge of capturing my experiences on film and the process has become a really gratifying way for me to express myself and my appreciation for the beauty and culture of the places I visit.
Of course, even after years of taking pictures of myself, I can still get nervous snapping images of myself in front of a bunch of people. Whenever I get self-conscious in the moment, I refocus on what I’m doing and why I woke up at the crack of dawn do it. I also whisper to myself, “You will never see these strangers again!”
Once back at home and flipping through the incredible images I captured, I never remember how silly I felt. I simply cherish the memories and the moments I captured. There truly is no better souvenir than truly epic travel photos. So, remember that with just a little bit of preparation, the right equipment, and self-reliance you too can have Insta-worthy memories without an “Instagram boyfriend.”
More like this
The City Where ‘The Little Mermaid’ Takes Place Is Even More Magical Than The Disney Version
Take A Virtual Cherry Blossom Tour Around The World With This Google Earth Guide
These Hotel Live Streams Will Bring You Closer To Paradise
Stay up to date
Don’t miss a thing with the Elite Daily newsletter.
Source: Read Full Article