Launched last week, Apple’s new desktop operating system macOS (10.15) Catalina brought a slew of niceties to Mac users. However, it also signalled the official end of the 18-year-old iTunes software on macOS that many users have been using to sync and back up their iPhones and iPads.
But fret not, here is a quick guide on how to back up your iPhone and iPad in Catalina, along with a few things to know about the new macOS.
HOW TO BACK UP YOUR IPHONE/IPAD
In Catalina, a connected iPhone or iPad will appear in the sidebar of Finder, the default file manager of macOS.
Click on your iOS device and you will see a window with an interface similar to what you saw in iTunes previously.
Within the interface, under the General tab, you can do your usual back-up and device restore, as well as manage back-ups of different iOS devices. You can also opt to manually or automatically sync content between your computer and your iOS devices.
To create a back-up of your iPhone, click on Back Up now and wait for the back-up process to finish.
To sync different types of content manually, go to tabs such as Music, Movies, TV Shows, Podcasts, Audiobooks, Books, Photos, Files and Info.
For example, to sync files with individual apps, click on Files and select the app you want to transfer files to.
Next, drag the files to the app icon and click Sync. The files will be in the app after the syncing process is over.
In all, the interface feels very much like what it was in iTunes. Mac users will be up to speed pretty quickly.
Ironically, the iTunes software lives on in Windows and you can still use it to back up your iPhone or iPad if you do not have a Mac.
HOW TO USE SIDECAR
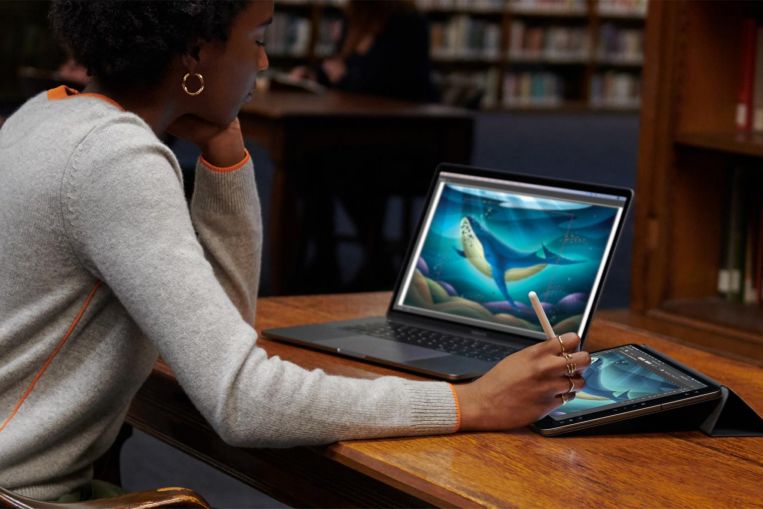
Sidecar has to be one of the best features in Catalina. It allows you to use a supported iPad as a second display or as a drawing tablet.
Your iPad has to be using the latest iPadOS 13 version with the same iCloud account as your Mac. Sidecar works in both wired and wireless modes, and it works like a charm.
To set it up, go to System Preferences and click on Sidecar. You will see the “Connect to” option with a drop-down bar. Click on this drop-down bar, select your iPad and it will be transformed into a second screen.
Here, you will also find options to enable or disable the side bar and the touch bar in this second screen.
In Displays under System Preferences, you can select where you want this second screen to be in relation to your Mac’s display, such as on the right or left of it.
HOW TO KNOW WHICH APPS ARE NOT COMPATIBLE WITH CATALINA
Catalina does not support 32-bit applications. If you are still using many such apps for your work, check first before upgrading.
In macOS (10.14) Mojave (the macOS version before Catalina), you can check which applications are legacy software before taking the plunge. Click on the Apple logo on the top left of your Mac and select “About this Mac”.
In the resulting window, click on System Report. In the System Report window, select Legacy Software under the Software section. Here, you will find the applications that are not supported in Catalina.
In addition, during the Catalina installation, you will be prompted about recent applications that you have used that are not compatible with the new macOS.
If you still need to use some 32-bit applications in Catalina, you can try using a virtualisation software such as Parallels Desktop 15 (from $123.03 a year). It lets you run older macOS applications on Catalina.
Source: Read Full Article
