You’ve been there before: You’re scrolling through your Instagram feed when you see your favorite celeb post about their favorite new product — a face serum, vitamins that will make your skin brighter, or a specialty food service. You can’t help but want to be like the stars, but are the products worth it? In Elite Daily’s new series, I Tried, we put it all to the test. We’re trying those products as well as celebrities’ health and wellness tips, recipes, and life hacks. We’ll do the leg work and tell you what living like your fave star is really like.
Hear ye, hear ye! I have some pretty life-changing news, and it comes in the form of Chrissy Teigen’s newest cookbook, Cravings: Hungry For More. After the success of her first book — filled to the brim with delicious recipes — our girl Chrissy is back at it again, giving the world over 200 glorious pages of meals that are worth salivating over. Now, look, dear reader: I’m an avid food enthusiast. I will cook up an extravagant meal that took me hours to create. I will go to the food store and find the exact ingredient and brand for a meal to ensure everything is as the recipe calls for. And I will take pictures of my beautiful meal before stuffing my gullet with the dish that I slaved over making. I love making food, and I love eating food, and I love trying new meals. So naturally, I had to try Chrissy Teigen’s Cravings 2 recipes, and let me tell you, I was blown away with their deliciousness.
I will admit that, at first, I was somewhat hesitant to think that Teigen could be a stunningly successful model and business woman and be a kickass chef. Could the universe really have created someone who checked off all the boxes?
The answer is yes. And her name is Chrissy Teigen, and she cooks up a mean meal, whether it’s morning, noon, or night. And how can I be so sure? Because I made her breakfast, lunch, and dinner recipes. Duh.
Meal One: Cheesy Spicy Breakfast Hash
I’m a self-proclaimed breakfast person. I hate waking up in the mornings, but I do it solely for the promise of eating something delicious shortly after opening my eyes. I’m a big fan of those Hungry-Man style breakfasts that include everything but the kitchen sink, so this recipe, which includes ingredients like potatoes, onions, peppers, and sunny-side up eggs, sounded like a damn dream.
I was a little nervous about the time spent cooking, though, since it seemed a little dense — a full 40 minutes — but the active time spent cooking promised to only be 20, so I took a risk. And let me tell you, it paid the hell off.
Step 1: Cook your veggies.
While you’re microwaving your diced potatoes (to get ’em nice and soft and ready for the stove), heat up a cast iron skillet until it’s piping hot. Add chopped garlic, diced onion, diced green bell pepper, and diced jalapeños (make sure they are seeded if you’re not a spice master), and cook until everything is softened. This step took less than 10 minutes, and by the time it was done, my potatoes were also ready. The timing on this was pretty perfect.
Step 2: Add your potatoes, spices, and cheese.
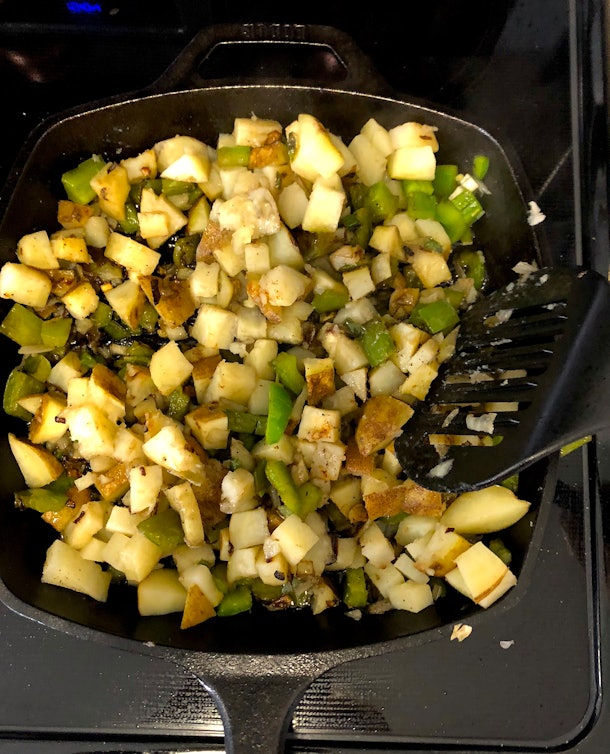
After you reduce the heat to medium, add in your potatoes, salt, pepper, and paprika. Add in chicken broth, and stir infrequently. I’m one of those people who is tempted to stir every half a minute, so I had to back the eff off for this recipe. It took about 15 minutes, but I started to notice that things were starting to look real nice and crispy:
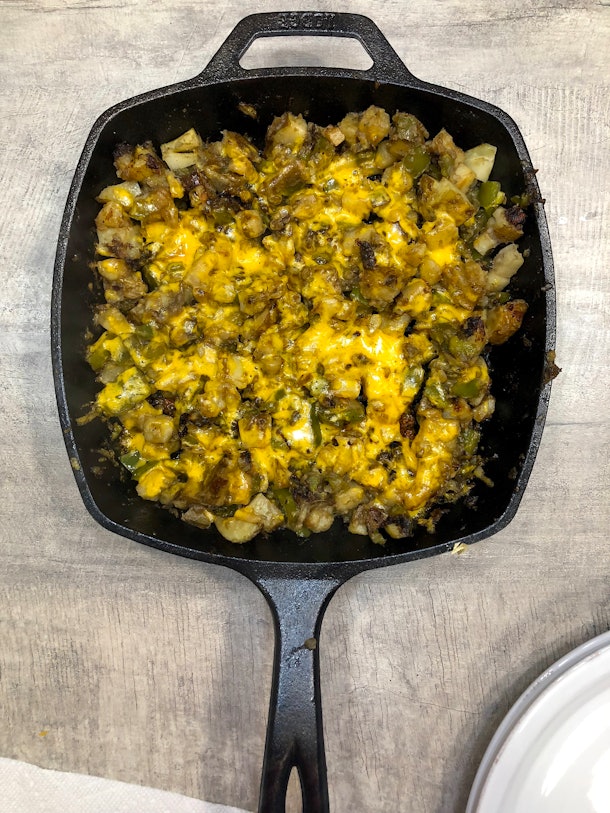
From here, douse your skillet with cheddar cheese, and cover it up for a few minutes until you see it getting melty AF:
Step 3: Cook your eggs.
If you don’t know how to make a sunny-side up egg (???), simply crack an egg over a skillet and do NOTHING to it, meaning the yolk (AKA the yellow center of goodness) stays up top.
Step 4: Devour.
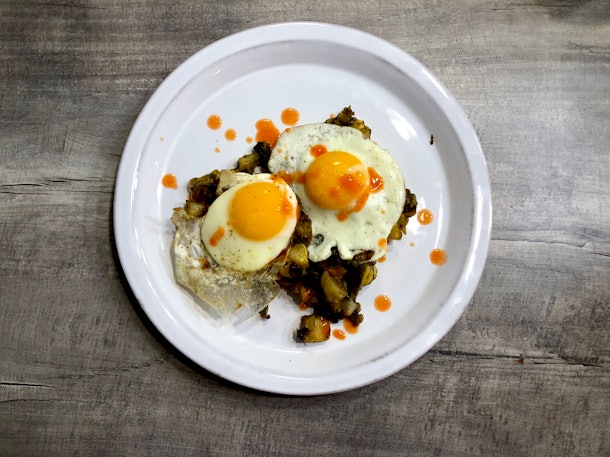
So now that my hash was all set, I went ahead and plopped a few sunny-side up eggs over the cheesy hash and added some hot sauce for good measure:
Verdict:
This was pretty next-level for a savory breakfast item. It covered all the elements I love with my breakfast: salty, spicy, and flavorful. The onions, peppers, and jalapeños really complemented the potatoes nicely, and the cheese tied the whole glorious dish together. And cutting up the egg to mix the yolk into the whole hash dish? Perfection.
While it did take a bit longer than I’d like to spend in the kitchen for breakfast (I wake up ravished, don’t @ me), the payoff was worth it in the end.
Meal Two: Sweet & Spicy Peach & Brie Grilled Cheese
If you know me, then you know that cheese is my sun, my moon, and all my stars. I trust cheese. I value cheese. I basically am cheese.
So when I saw this peach and brie cheese sammy with a tangy Thai sauce, I was already very invested in the recipe. Plus, the ingredients were minimal (I actually had almost everything at my house) and the time to make it was 25 minutes total, so I was beyond ready to try out this bad boy.
Step One: Create Your Sandwich.
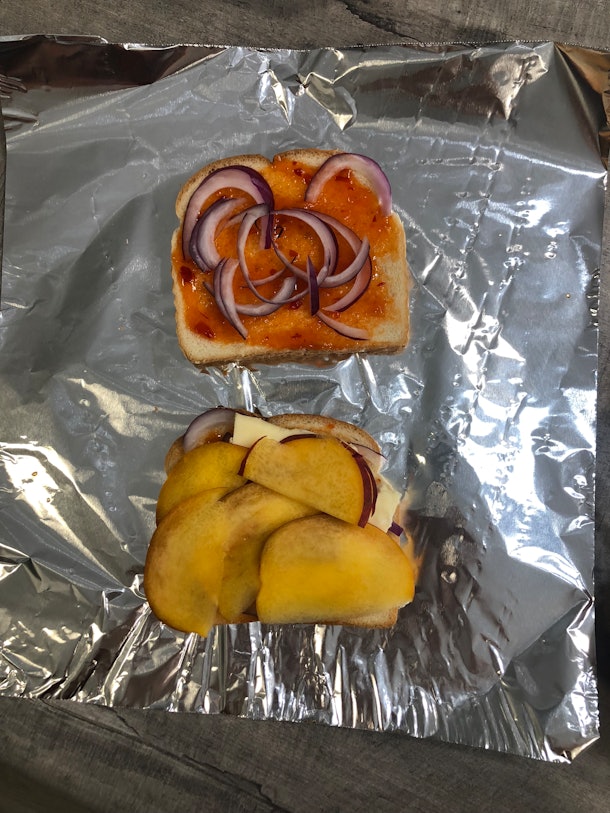
Butter a slice of soft white bread (don’t skimp out here, guys, go for those pillowy-looking white slices), and arrange the bread on a piece of parchment paper (I used aluminum foil), butter-side down, not up. That confused me at first, until I realized the butter is for the outside of the sandwich, not the inside.
On the unbuttered sides, drizzle Thai chili sauce (you can find this at the supermarket, usually in the International Food section), slices of red onion, brie, and peach slices cut very thinly. Add a dash of salt, and set one piece of bread on top of the other so that all the ingredients are on the inside and both buttered sides are facing outwards.
Step Two: Grill Your Sandwich.
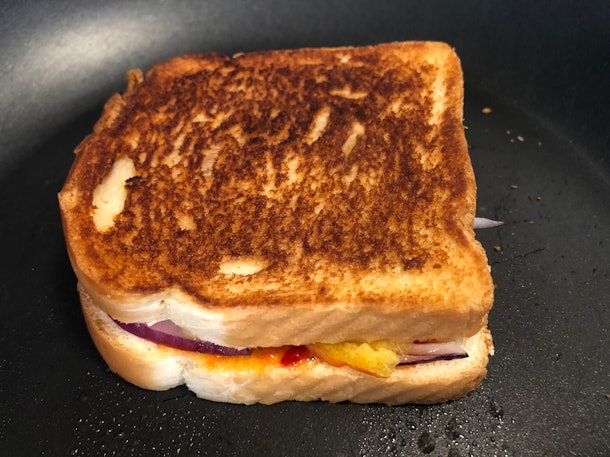
Heat a skillet over medium-high heat for a few minutes, and add your sandwich to the skillet until it becomes golden and the cheese inside starts to melt. Flip it, and repeat to the other side.
Step Three: Devour.
After my sandwich reached peak golden-crispy bread levels, I took it off the skillet, and cut that beautiful thing in half.
Verdict:
Oh my God. Oh my God. OH MY GOD.
This sandwich was excellent in every way imaginable. The brie cheese was delightful with the slight crunch of the cooked red onions. The juicy taste of the peach paired perfectly with the tangy sauce. You guys, this is the way lunch was always meant to be: A thick, delicious sandwich with a range of flavors crammed in between two soft-yet-crisp slices of bread. I will forever be a fan of this sandwich, and will do everything in my power to make it a staple during my workweek.
Meal Three: Simple Skillet Broken Lasagna
OK, you guys. As you may have garnered from my last name, I’m pretty Italian. Handmade pasta-making, made-from-scratch sauce-creating, garlic-in-my-blood Italian. So when I make recipes involving any type of pasta, it better live up to the hype. Could an Italian recipe skeptic turn into a believer? You bet I could with Chrissy Teigen’s recipe.
Step One: Make the sauce.
In a Dutch oven (or a deep pot if you don’t have one), heat olive oil over medium-high heat, adding ground beef and pork until it’s no longer pink. Add finely chopped onions into your pot and cook until it’s tender and semi-transparent, then add minced garlic, tomato paste, crushed tomatoes, basil, red pepper flakes, salt, and pepper. Bring the concoction to a boil before reducing the heat, simmering the sauce until it thickens slightly, about 45 minutes.
Step Two: Build Your Lasagna.
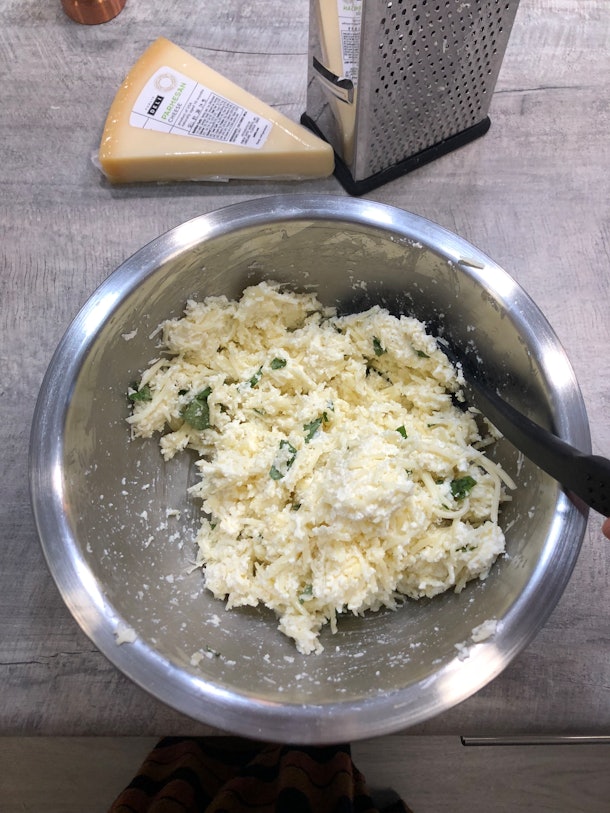
Combine ricotta, mozzarella, parmesan cheese, basil, salt, and pepper into a large bowl. Stir to combine. It should look a lil’ something like this:
It looks sort of like mashed potatoes, except for the fact that it’s literally all cheese. And I’m not complaining.
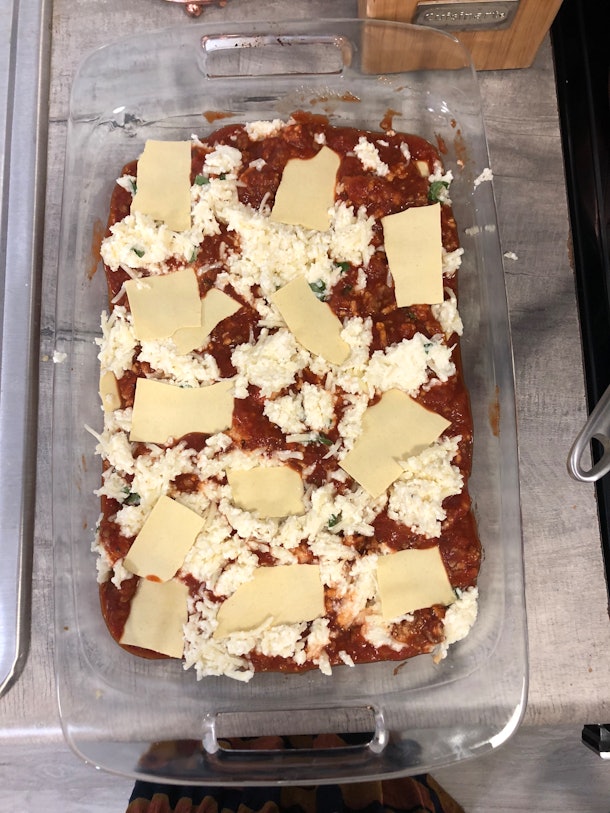
Once your sauce is complete, ladle a cupful into an ovenproof skillet or baking pan. Then, take your sheets of lasagna and break them into 2-inch pieces, delicately layering them on top of the sauce (don’t worry if they don’t fit together like a puzzle), pressing down slightly to make more room for the next layer. Add more sauce, then a layer of your cheese, then your broken lasagna sheets. Keep on repeating this process until your pan is totally full of saucy, cheese, lasagna goodness:
Top it off with a final layer of sauce and cheese, then place it in your oven, heated to 375 degrees. Bake for 45 minutes or until bubbling.
When you pop it out of the oven, it should look a bit like this:
Step Three: Devour.
Gently cut and plate your lasagna. I had a pretty hard time making this look really beautiful because the lasagna pieces don’t offer much support, but I personally am happy to sacrifice the aesthetic of a meal if the meal itself is in-your-face delicious.
Verdict:
Let me put it this way: I like to measure my food one of two ways. Either it’s so good that it reminds me of my grandma’s cooking, or so good that it reminds me of sitting in a fine dining restaurant. And this lasagna transported me straight back to my grandparent’s dining room, surrounded by my very loud, very loving family. It was the epitome of homestyle cooking, and was so unbelievably tasty. The sauce itself tasted like a traditional red meat sauce, and the cheese mixture had the perfect combination of tastes and textures. While the dish as a whole could have used slightly less salt, the simple fix is just holding off on the salt shaker a bit while prepping your meal.
This recipe was so good that we ate all of the leftovers — a rarity in my household — and I was actually sort of bummed when we split the last piece. Judging by the fact that the pan was quite literally licked clean, I’d say that this recipe was an all-out winner that will be used again in my kitchen.
So, if you’re debating whether or not to pick yourself up Chrissy Teigen’s new cookbook, I’m here to tell you that it’s absolutely worth it.
And to the perfect human that is Chrissy Teigen: Words fail me. It’s obvious that you’re a killer chef, and I want to let you know just how much I appreciate you revealing so many tasty and personal recipes. Me and my taste buds can’t thank you enough.
Source: Read Full Article
